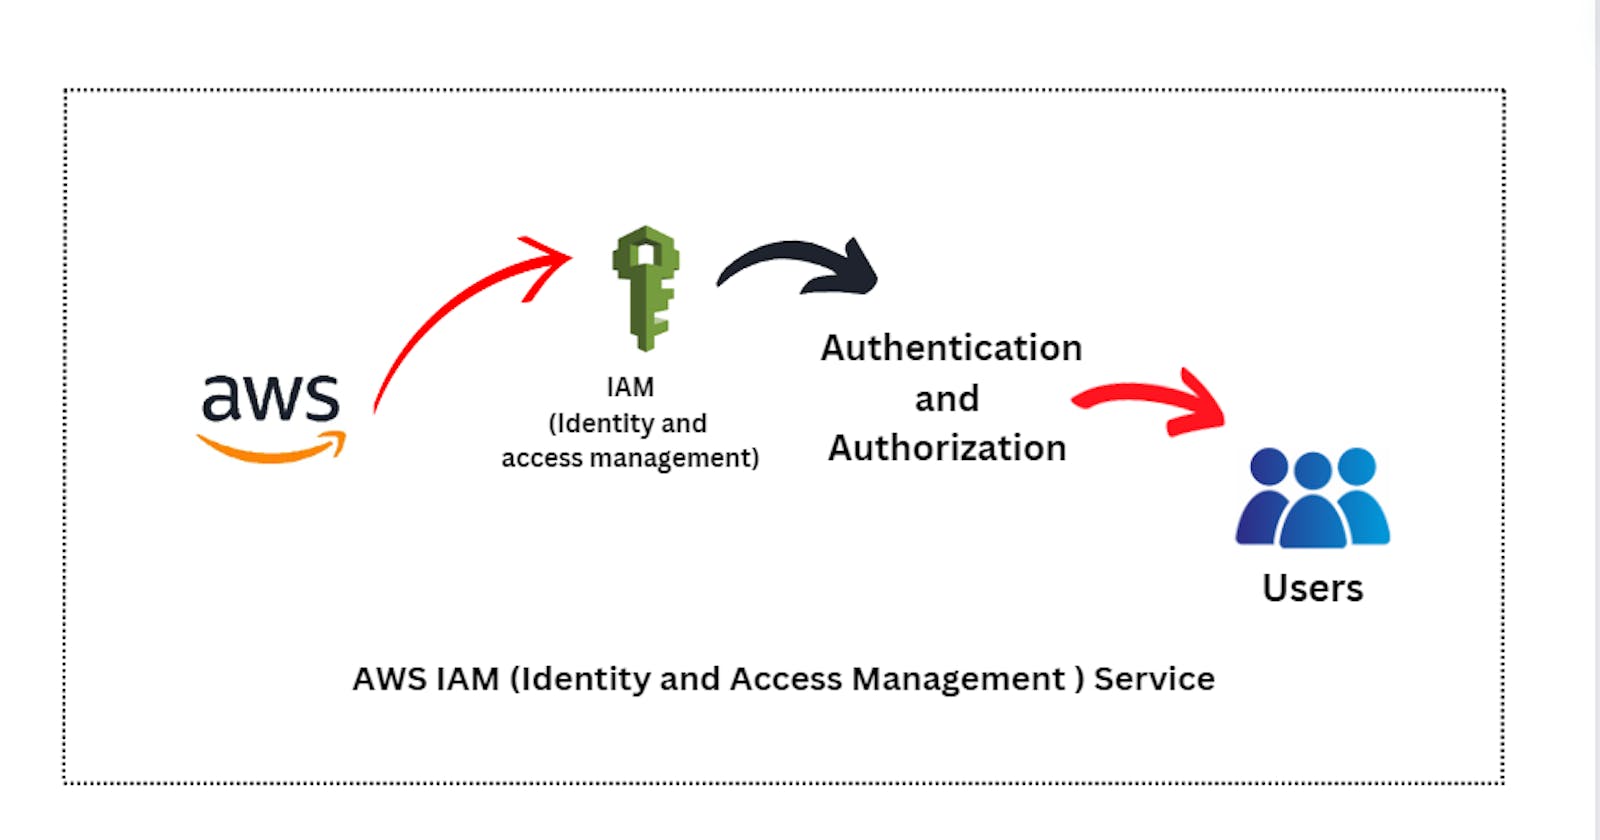
AWS IAM (Identity and Access Management)
In this Blog we are going to learn about the IAM with some hands-on practices.
Table of contents
Agenda
Users
Groups
Policies
Roles
Hands on
Let's start with the example now there is a company A where all the users are logging as root user who used to access services like EC2, S3, EKS , DB etc. The thing is that if a user don't have knowledge of particular field then it might be possible then he messed up with it.
So, to mange this AWS launched the service of IAM from this we can manage the Authorization and Authenticity of the users and what they can access and can work with it.
IAM (Identity and access Management) it has 4 things :
Users
Groups
Policies
Role
Users :
Basically when there is new developer in your company then as a cloud or DevOps engineer you have to make create an id pass for the new user as we can see with the hands on too and add some policy so they can work on that particular services.
Groups :
Now, usually if there are lot of joining of developers then it's time taking to create id pass for user and add policy to each of them individually. So, instead of doing this they used to do make groups and on the basis of tech they add the users to the particular groups with particular access.
Policies :
Basically , it's done with the two ways -
we can create custom policies or
we can go with AWS managed policies.
Now in this blog we are going to work with the AWS managed policies in future we are going to deep dive into the custom policies.
Roles :
Its usually like if you are a customer and want some information about the cloud services than you need not to be make an user account and policies they just have temporary access on the basis of their role.
It's mainly used for the talking about two AWS account . We will also understand it in future when we are learning CI/CD.
Now , Let's jump on to the theory part
Step 1 :
firstly just login as root user and search for the IAM service
Step 2 :
go to the user section

Step 3:
Now start creating users by clicking on create user.
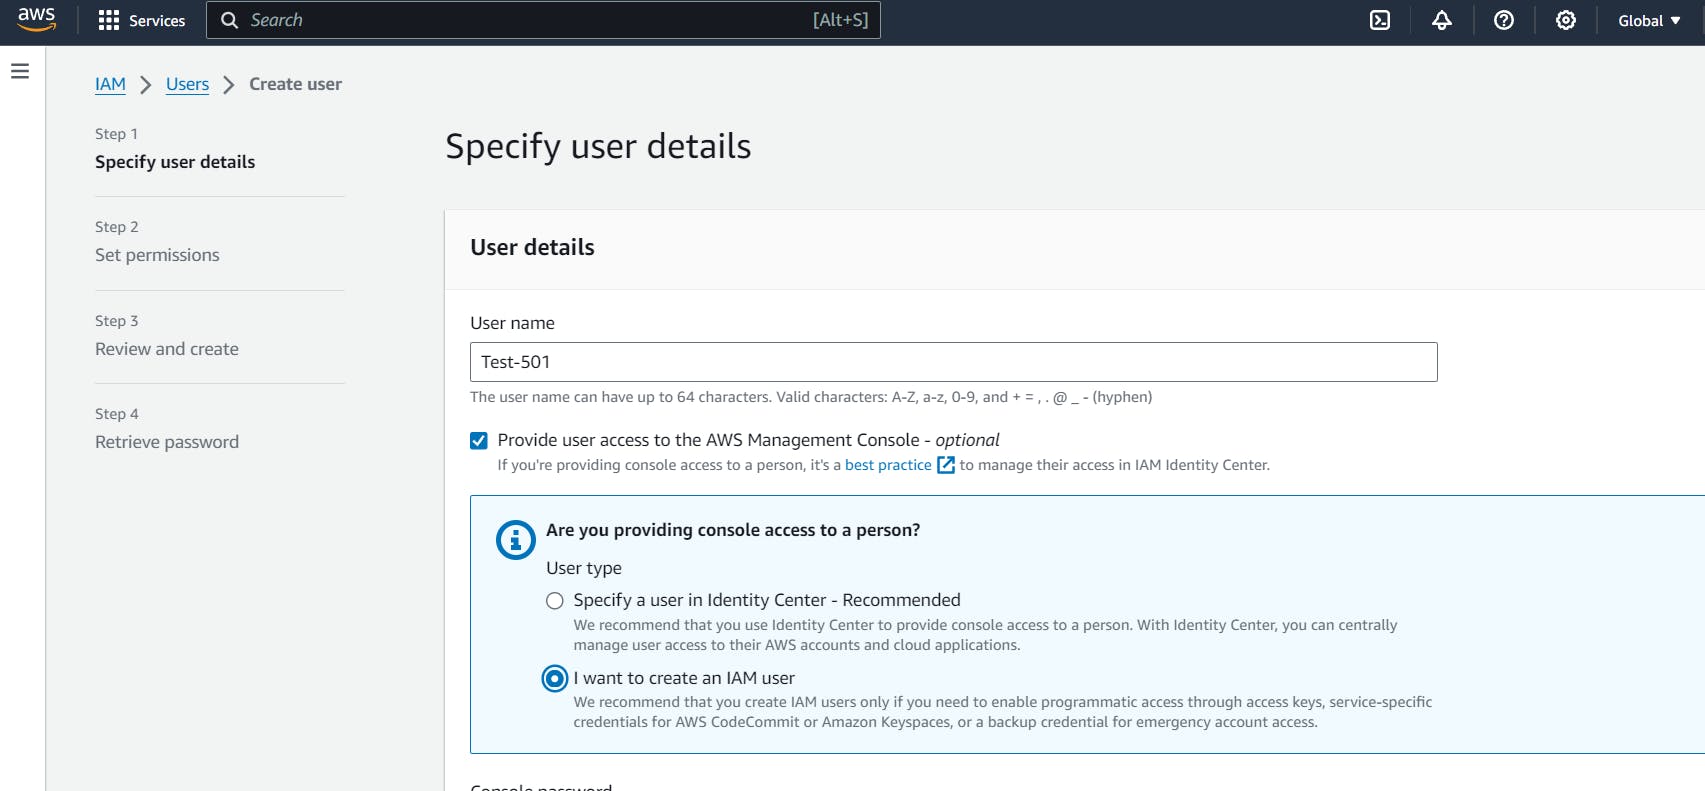
Step 4 :
Just fill the details and usually click on the autogenerated password because for creating password for each user manually is bit hectic.
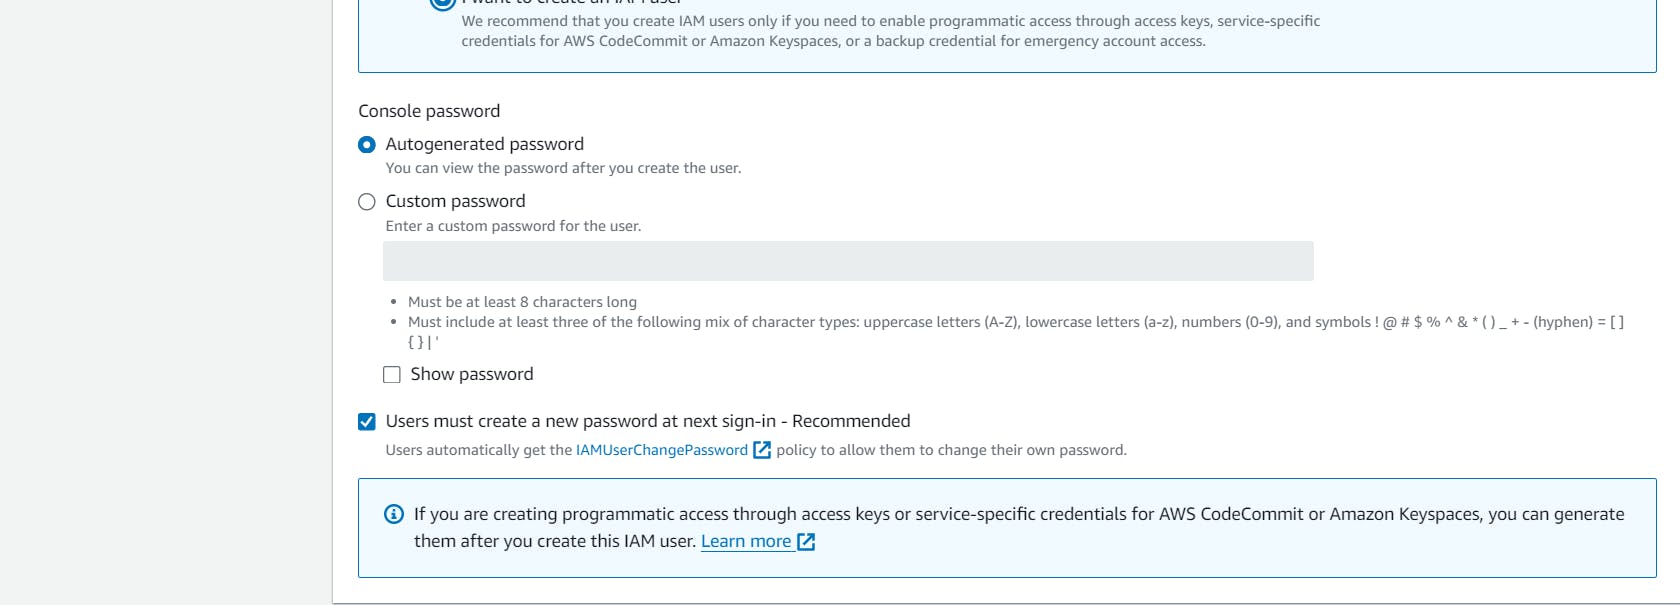
Step 5 :
Now add some policies whatever you want but initially don't give any permission for the policies. Finish it and try to access it .
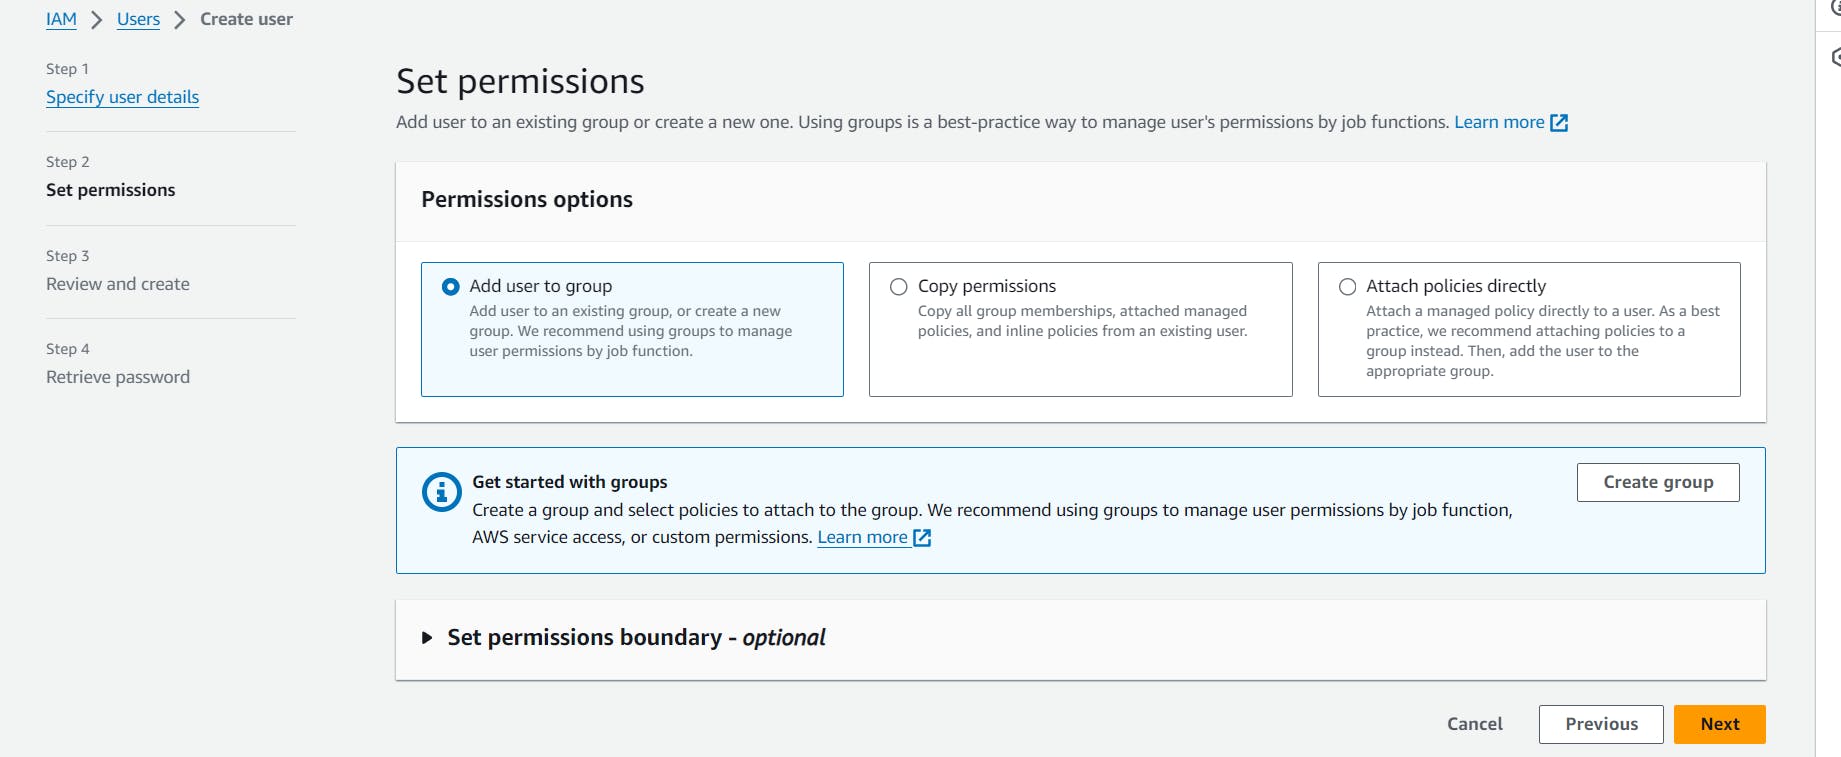
Step 6:
Finally you've created an id pass for the user with IAM service.
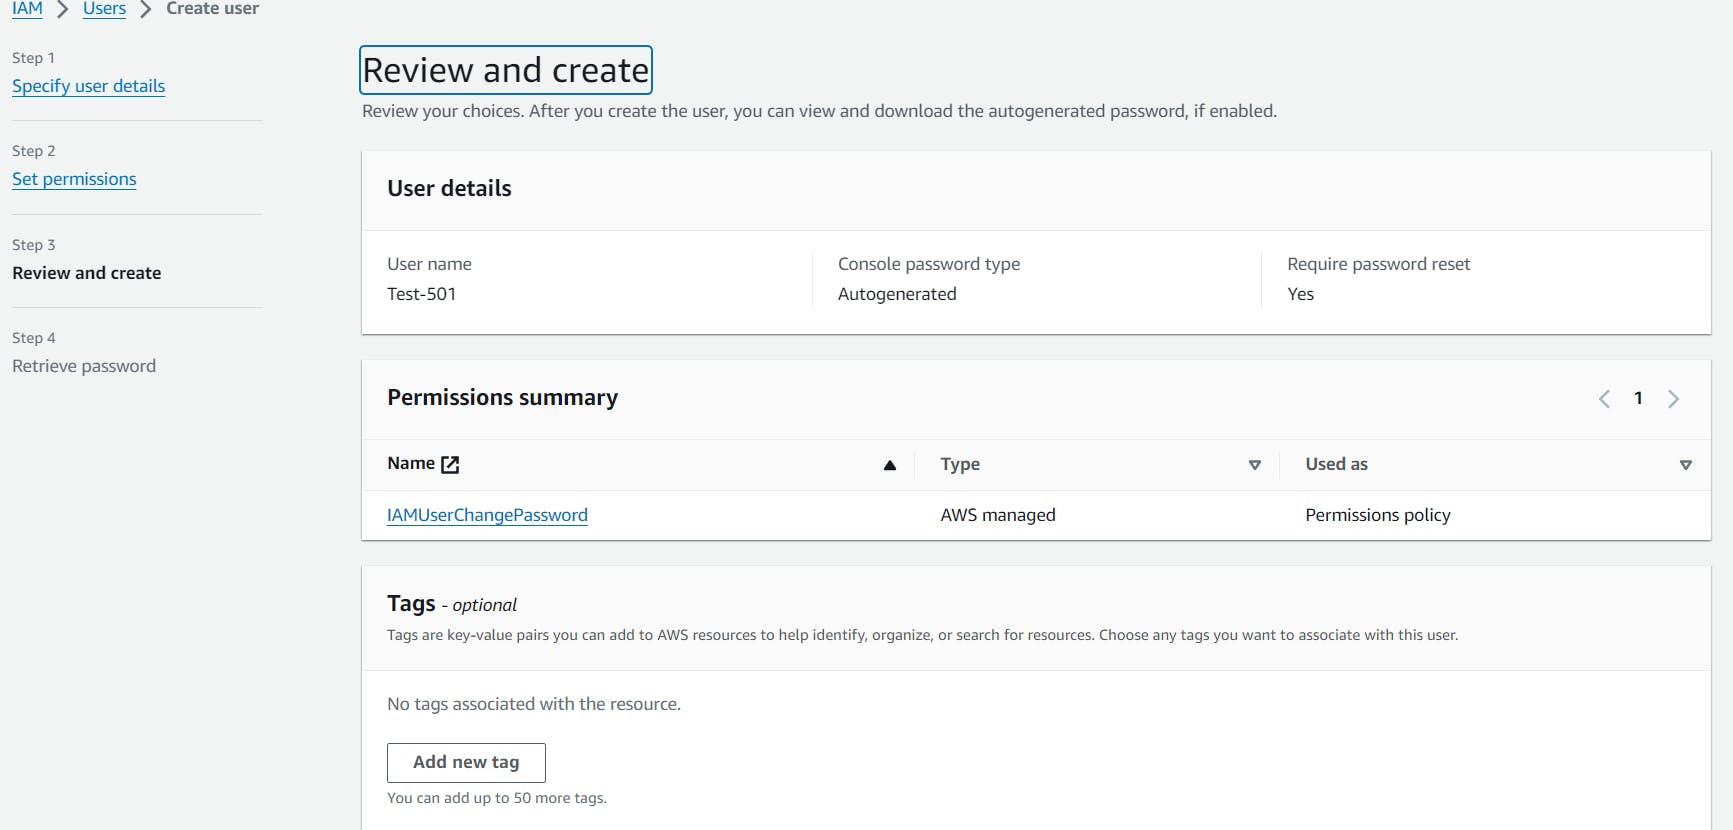
Step 7 : Now go with the login with IAM user and put the user id username and pass and login it after login you'll get the interface where it ask for the new password .
Step 8 :
You'll find that the user account is not able to access the services of AWS it's because you didn't given the permission or add the policies.
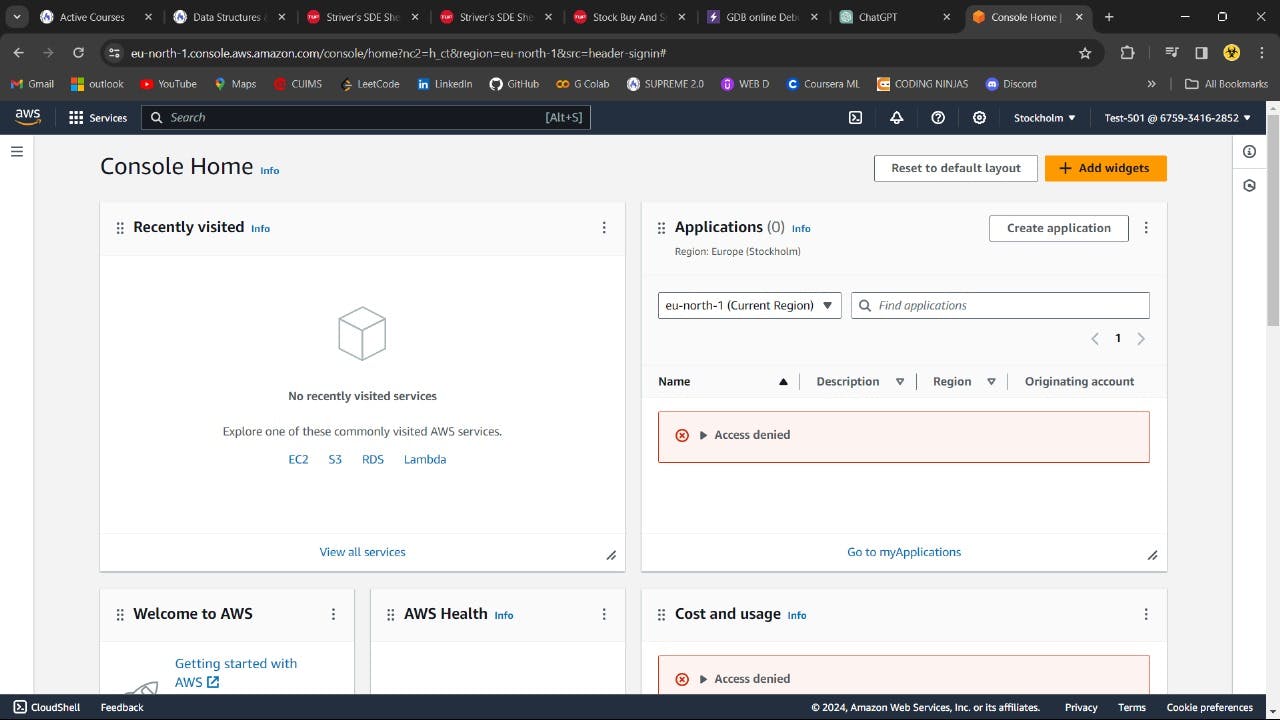
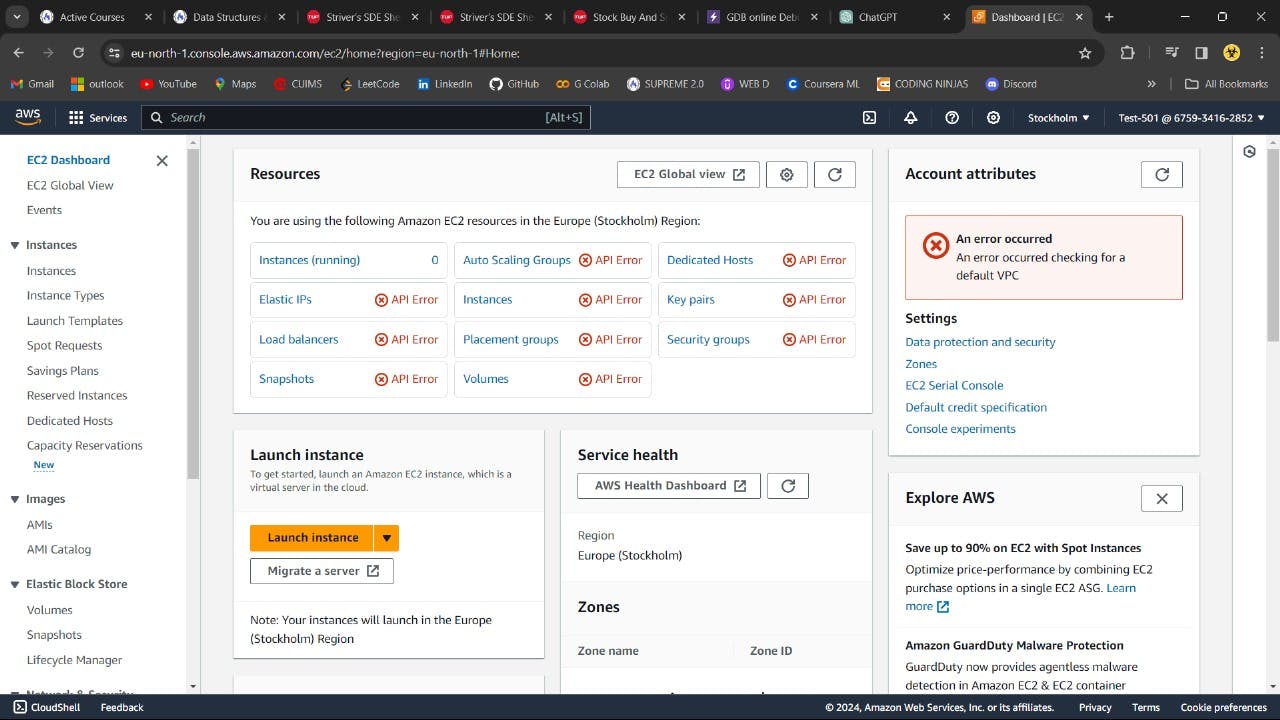
Step 9 :
Try to give some access like on EC2 by going IAM -> User -> permission / policy add policy like add access of EC2 or S3 or whatever you want to access.
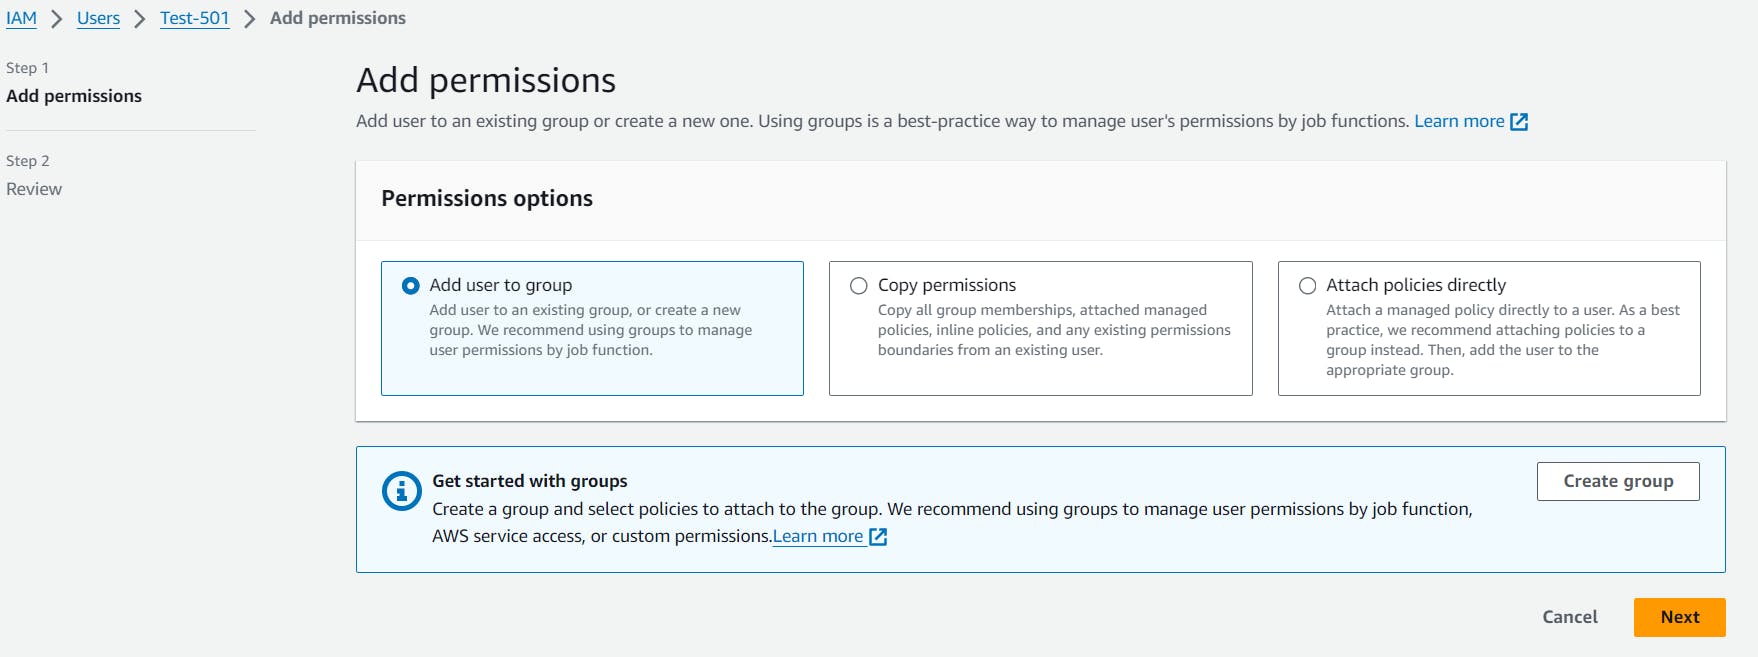
Step 10 :
You'll see that user can able to access that services of AWS.
Step 11 : Now in this step we are going to create the Group by clicking on the option IAM -> User group -> Create Group

Step 12 :
Just fill out the details and mention the policy whatever you want to give to that group and then create the group

Step 13 :
By clicking on the user group - > open that group and just start adding the user to that particular group .and then you can login with user id password and you have the all the permission that are mention in the policies of that group
Step 14 :
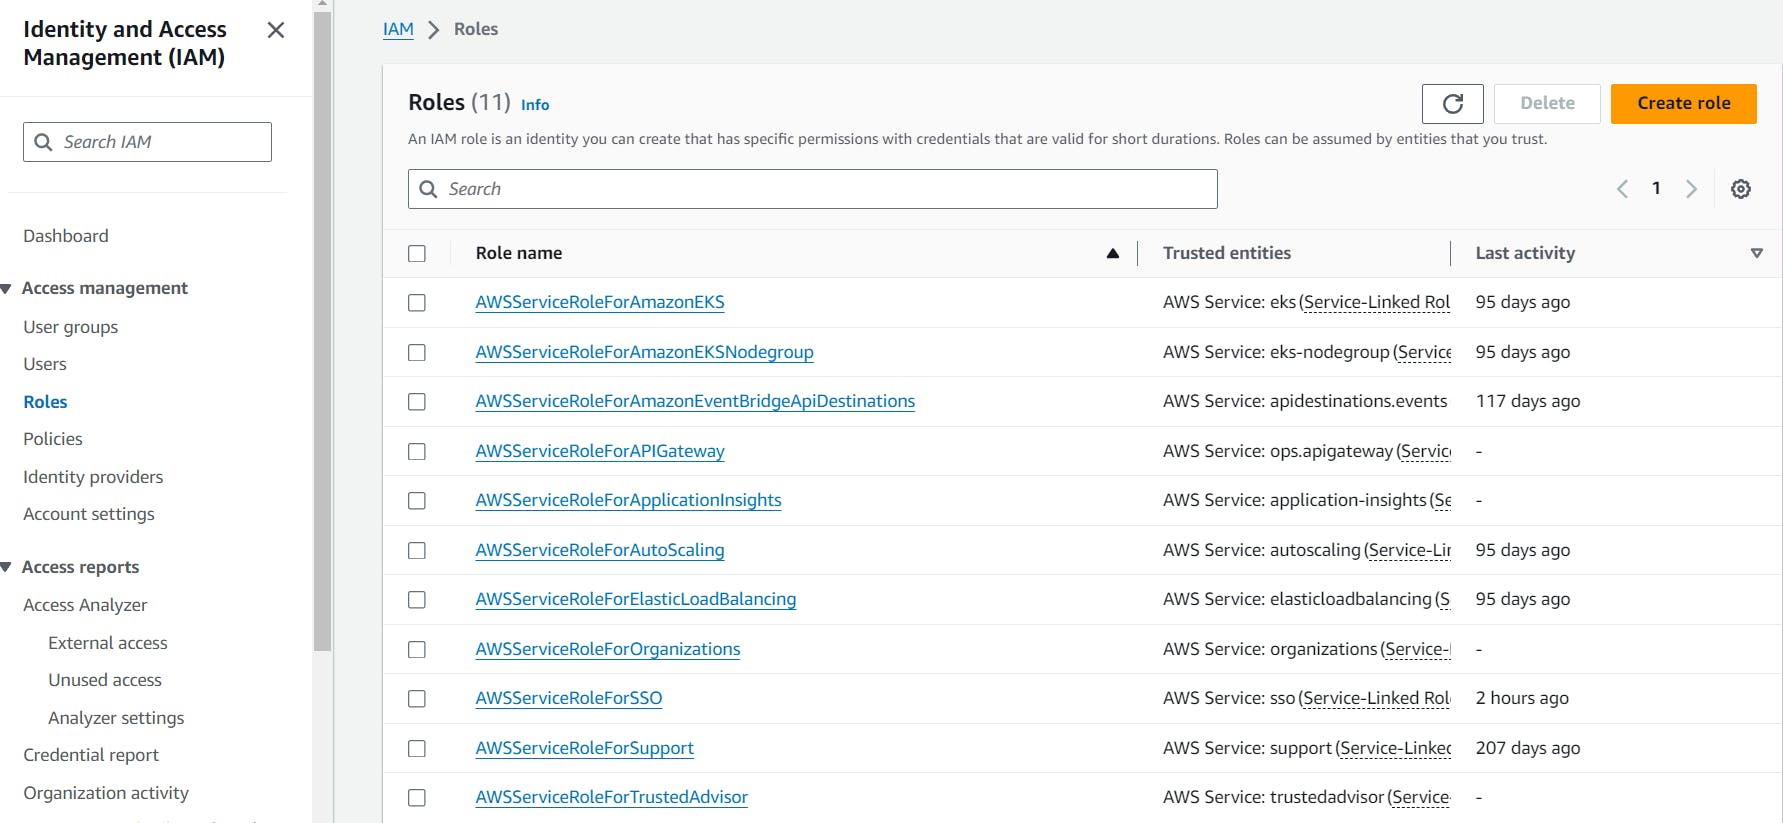
Now you can see about the roles we can see it later when we are doing the ci cd so we'll cover this on deep.
In this you'll learn about the importance of IAM service and also you've experienced how it works and leaned about its features.
Hope you learn from this article and liked it. So , Don't forget to share with all the AWS enthusiast. Be consistent read the blog regularly and do practices and mention all your doubts here.
So , in upcoming blog will be covering on Compute Service like EC2.

